
What's inside
- Start with the right mindset
- Gather free or cheap material
- 1. Chipping hammer for slag
- 2. Angle grinder for prep
- 3. Clamps to hold your work
- 4. Soapstone for marking
- 5. A practice-friendly welder
- A simple four-week drill plan
- How to judge your welds
- Troubleshooting common bead problems
- Common mistakes
- Finding feedback and learning resources
- Frequently asked questions
- A safety routine for every session
- Conclusion
- Start with the right mindset
- Gather free or cheap material
- 1. Chipping hammer for slag
- 2. Angle grinder for prep
- 3. Clamps to hold your work
- 4. Soapstone for marking
- 5. A practice-friendly welder
- A simple four-week drill plan
- How to judge your welds
- Troubleshooting common bead problems
- Common mistakes
- Finding feedback and learning resources
- Frequently asked questions
- A safety routine for every session
- Conclusion
As an Amazon Associate I earn from qualifying purchases. This post may contain affiliate links at no extra cost to you.
To practice welding at home, start with short, repeatable drills on scrap steel, focus on one variable at a time and keep a log of your settings and results. You need a welder, protective gear and a few simple tools for prep and cleanup. This guide gives a practice plan and five helpful tools, based on specifications and reviewer feedback.
| Pick | Best for | Key feature |
|---|---|---|
| Estwing Welder’s Chipping Hammer | Removing slag between passes | Pointed and chisel ends |
| DEWALT DWE402 Angle Grinder | Prep and cleanup | Compact corded grinder |
| IRWIN VISE-GRIP Locking C-Clamp | Holding scrap in position | Locking jaws with adjustable grip |
| Markal Welder’s Soapstone | Marking metal for cuts | Marks survive heat and are easy to see |
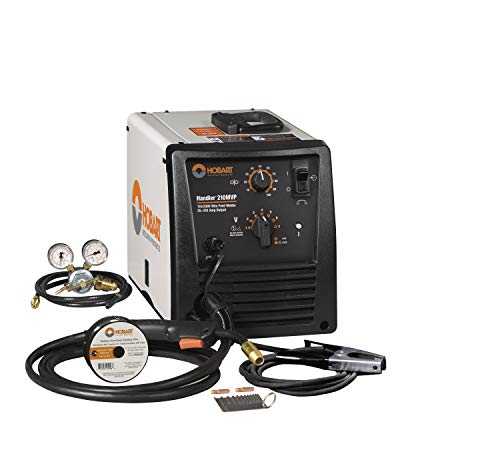
| Hobart Handler 190 MIG Welder | A beginner-friendly practice machine | Simple setup for scrap practice |
What we cover
- Start with the right mindset
- Gather free or cheap material
- 1. Chipping hammer for slag
- 2. Angle grinder for prep
- 3. Clamps to hold your work
- 4. Soapstone for marking
- 5. A practice-friendly welder
- A simple four-week drill plan
- How to judge your welds
- Troubleshooting common bead problems
- Common mistakes
- Finding feedback and learning resources
- Frequently asked questions
- A safety routine for every session
- Conclusion
Our Top Picks


Start with the right mindset
Welding skill comes from repetition, not from a few perfect beads. Plan short practice sessions, maybe thirty to forty-five minutes, so your eyes and wrists stay fresh. Pay attention to what the weld pool looks like and sounds like. A steady, crisp sound often signals a stable arc, while popping or sputtering suggests a problem with settings, travel speed or surface.
Change one variable at a time. If you alter voltage, wire speed and travel speed together, you will not know what caused the result. Write your settings and observations in a notebook, and photograph each practice piece.
Gather free or cheap material
Scrap mild steel is the best practice material. Pick up offcuts from a metal supplier, or look for clean flat bar and angle. Avoid unknown metals, galvanized steel and coated or oily parts, since these can produce hazardous fume. Cut pieces into manageable coupons, such as strips about the size of your hand, and grind off mill scale and rust before you begin.
1. Chipping hammer for slag
If you practice stick or flux-core, slag removal is a constant task. A chipping hammer with a pointed end and a chisel end clears slag quickly. Wear safety glasses when chipping, because fragments fly. Estwing Welder’s Chipping Hammer
2. Angle grinder for prep
Clean metal makes better welds, and a grinder removes rust, paint and mill scale quickly. It also lets you flatten bead tops for inspection and cut practice coupons. Use the correct disc, wear eye and face protection, and keep sparks away from flammable items. DEWALT DWE402 Angle Grinder
3. Clamps to hold your work
Practice pieces that move cause poor results. Locking clamps hold coupons against a table so you can focus on technique. Keep a few in different sizes. Be aware that clamps can get hot after welding. IRWIN VISE-GRIP Locking C-Clamp
4. Soapstone for marking
Pencil and marker lines vanish under heat, while soapstone stays visible. It is useful for marking cut lines and weld positions. It is a small, low-cost addition that saves frustration. Markal Welder’s Soapstone
5. A practice-friendly welder
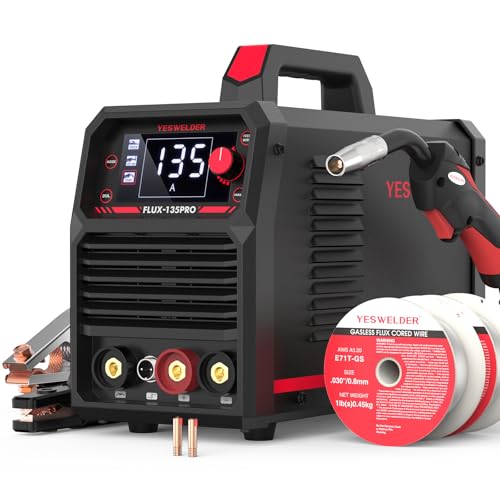
If you do not yet own a machine, a simple 120V MIG welder gives a gentle introduction and lets you practice beads, tacks and joints. Choose a model with clear settings and available consumables. Hobart Handler 190 MIG Welder
A simple four-week drill plan
- Week one: Lay straight beads on flat plate. Focus on consistent travel speed and distance.
- Week two: Weld tee joints and lap joints. Look for even bead width and good fusion at the edges.
- Week three: Try different positions, such as vertical or overhead, on small coupons.
- Week four: Cut and bend test pieces to check penetration, and build a small project like a bracket.
How to judge your welds
Look for a uniform bead width, smooth ripples and good tie-in at the toes. Undercut, porosity and excessive spatter tell you something is off. Break or bend test coupons to see whether the weld fused into the base metal, remembering to wear eye protection during destructive testing.
Troubleshooting common bead problems
Practice is easier when you know how to read a bad weld. A bead that sits high and narrow often means travel speed is too slow or heat is too low. A flat, wide bead with undercut at the edges can mean too much heat or too fast a travel speed. Pin-holes and a pitted surface, called porosity, point to dirty metal, poor shielding or damp wire or rods.
Excessive spatter suggests settings are off, the ground is poor or the gun angle is wrong. Cold lap, where the bead sits on top without fusing, indicates not enough heat or poor technique at the edges. Change only one variable at a time and repeat the run so you can see the effect clearly.
Keep a few of your best and worst coupons on a shelf. Comparing them over weeks is one of the most motivating ways to see progress, and it teaches you what to aim for.
Common mistakes
- Practicing on dirty or coated metal.
- Changing too many settings at once.
- Skipping safety gear for short practice sessions.
- Practicing too long and developing sloppy technique when fatigued.
Finding feedback and learning resources
Practice improves faster with feedback. Look for a local welding class at a community college, a makerspace or a welding supply shop. Instructors can spot problems in your stance and technique that you cannot see yourself. If classes are not available, photograph your welds and ask for critique from experienced welders in reputable forums, while treating advice as a starting point to verify.
Read the manual for your machine and the consumable data sheets. They contain recommended settings and cautions that save time and prevent mistakes.
Frequently asked questions
How long until I can weld well?
Basic beads come in a few sessions, but consistent quality takes much longer. Regular practice speeds progress.
Can I learn from videos alone?
Videos help, but hands-on practice and feedback from experienced welders are valuable.
What metal should I practice on?
Clean mild steel, in a thickness suited to your machine, is the best starting point.
Is it safe to practice at home?
It can be if you follow fire, ventilation and personal protection rules.
A safety routine for every session
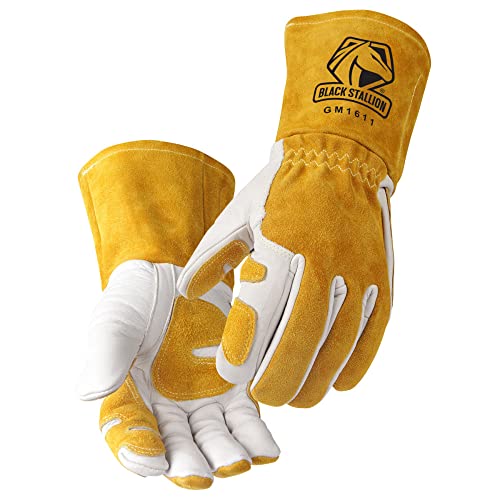
Build a short checklist and follow it every time. Clear flammables from the area, put on your helmet, gloves, jacket and boots, and confirm ventilation. Check the ground clamp and cables for damage, and make sure the extinguisher is within reach. Tell someone at home that you are welding, especially if you work alone.
After you finish, turn off the machine, close the gas valve, and leave the area tidy. Inspect for smoldering material and check again later. Let hot coupons cool in a safe spot, mark them with soapstone and put away tools so the next session starts clean.
Routine matters because accidents happen when people rush or skip steps. A consistent setup and shutdown habit takes only a few minutes and makes practice safer and more productive.
Set small goals for each session, such as five straight beads or three clean tee joints. Ending on a success keeps motivation high, and measurable goals show you whether the practice is working.
Conclusion
Practicing welding at home is about repetition, clean material and good habits. Collect scrap, keep a simple toolkit for prep and cleanup, and follow a structured plan. Stay safe, log your results, and watch your beads improve.
As an Amazon Associate we earn from qualifying purchases.
Related guides
More from Amazon
Programs that pair well with the guide above. Offers and eligibility are set by Amazon and may change.
A free business account with business pricing and bulk-buying tools for work, shop or home office.
Create a business accountFree shipping on eligible items, Prime Video and more. Eligible new members can start with a free trial.
Start a Prime free trialAudiobooks and podcasts to listen to on the go. Eligible new members can start with a free trial.
Try Audible freeAd-free music streaming. Eligible new subscribers can start with a free trial.
Try Music Unlimited freeAs an Amazon Associate we earn from qualifying purchases.






Write Your Review
No reviews yet. Be the first to share your experience!