Our Top Picks
 WORKESS Metal Welding Table Folding 1000 lbs LoadWB06521 x 42 x 36.6 Inches41.9 poundsCheck on Amazon


What's inside
As an Amazon Associate I earn from qualifying purchases. This post may contain affiliate links at no extra cost to you.
Most people botch their first welding table build in the same two ways. They go too thin on the top and it potato-chips the first time they lay a long bead on it. Or they overbuild a 700-pound monster they can never move, in a shop that gets rearranged twice a year. Both mistakes are permanent enough to be annoying.
A welding table is not furniture. It is a fixture. It is your ground plane, your flat reference, your clamping surface, and your heat sink all at once. Everything you fabricate afterward inherits whatever error is baked into that surface. So it is worth an afternoon of thinking before you cut a single piece of steel.
As an Amazon Associate we earn from qualifying purchases at no extra cost to you.





| Top thickness | Realistic use | Trade-off |
|---|---|---|
| 1/8 in sheet | Light sheet work, brackets, hobby MIG | Warps under sustained heat, dents from hammering |
| 1/4 in plate | General shop work, most home builds | Good compromise, still moves a little with big weldments |
| 3/8 in plate | Heavy fab, repeatable fixturing | Heavy, pricier, near enough to stay flat |
| 1/2 in plate | Production fixturing, jig work | Very flat, very heavy, needs a stout frame |
| Slotted or holed top | Clamp-anywhere fixturing | More cutting labor, debris falls through |
What we cover
Sizing the table before you buy steel
Measure your longest common workpiece, then measure your shop. Those two numbers fight, and the shop usually wins. A 30 by 48 inch top handles a surprising amount of work. A 36 by 60 handles most gate, frame, and cart work. Anything bigger and you should ask whether you actually need a bigger table or just a pair of matching stands to support overhang.
Height matters more than people expect. Standard bench height around 34 to 36 inches is comfortable for hand work but forces you to hunch over long welds. Many fabricators go taller, 36 to 40 inches, because you weld standing and leaning in, not sitting. If you do a lot of TIG seated, build lower or build a second small table. Pick your height by standing with a torch in your hand and letting your elbow settle. That angle is the answer.
Leave the top overhanging the frame by an inch or two on at least two sides. That lip is where every C-clamp and F-clamp in your shop will live. A top welded flush to a tube frame kills your clamping access, and you will curse it for years.
Steel selection, frame design, and keeping it flat
For the frame, 2 by 2 inch square tube with a 1/8 to 3/16 inch wall is the sweet spot for most home and small shop tables. It is stiff, it is easy to cut square, and it takes a bolt or a weld anywhere. Angle iron works and is cheaper, but it gives you less torsional stiffness and more edges to bark your knuckles on. Skip thin-wall decorative tube entirely.
Flatness comes from sequence, not from wishing. Tack everything first. Tack the frame, check diagonals corner to corner until they match, then tack the top in short welds spread around the perimeter. Do not run a continuous bead along one edge of a plate top and then the other. That is how you build a taco. Skip-weld in an alternating pattern, 1 to 2 inch stitches, and let the steel cool between passes. Stitch welds also make the top easier to remove later if you ever resurface it.
On plate tops, some builders only weld the underside perimeter in short stitches and leave the top surface untouched. That keeps the working face clean and reduces the pulling that distortion causes. It also means less grinding, and less grinding means fewer sparks flying at a face you may not have shielded.
Legs get a decision: fixed or casters. Fixed legs on adjustable feet are more rigid and safer for heavy hammering. Casters make the table useful in a crowded shop but must be locking, and they must be rated well above the table weight plus your heaviest expected workpiece. Cheap casters spread and roll under load, and a table that shifts while you are pulling on a clamp is a real hazard. If you go with casters, retractable or lift-off designs give you the best of both.
Steel Welding Table and Fixture Bench Options
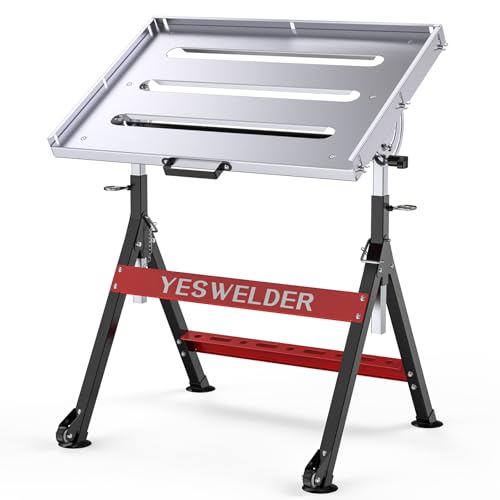
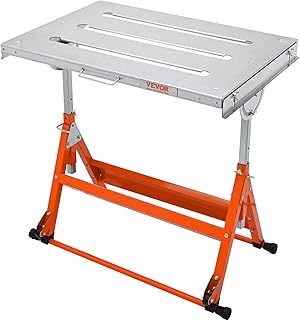
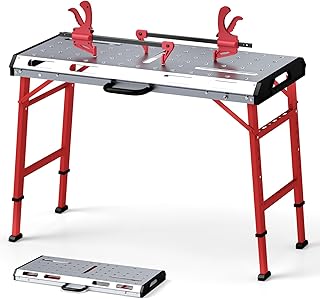
If your time is worth more than your steel budget, a bought table can make sense. Read the specs hard: many listings advertise a thin top over a light frame, which is fine for hobby MIG and disappointing for anything heavy. Look for a plate top you can actually name a thickness for, a frame in real square tube, and a weight figure that sounds plausible for the size. If the shipping weight looks light for the dimensions, it is light.
Fixturing: holes, slots, and clamp access
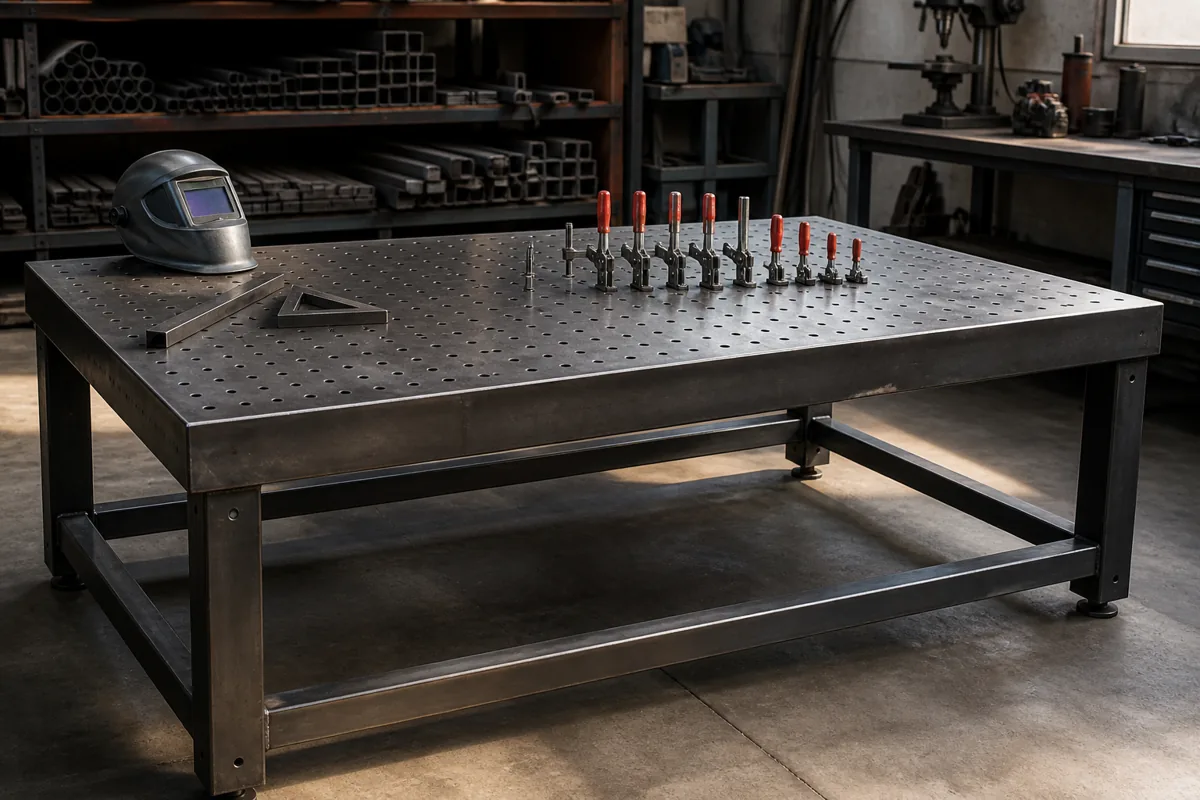
A flat top is useful. A flat top with a hole pattern is a fixturing system. The common approach is a grid of round holes sized for standard fixture clamps and pins, usually spaced a few inches apart. That lets you drop stops and clamps anywhere without hunting for an edge.
Drilling that grid in 3/8 or 1/2 inch plate is real work. A mag drill with annular cutters is the tool for it, and plasma or a CNC table service is the shortcut if you have access. If neither is realistic, a middle path works well: drill a partial grid only where you actually clamp, or weld a removable holed sub-plate to one section of the top.
Do not drill holes if you mainly weld thin sheet. Spatter and small parts fall through, and a solid top gives better ground contact and better heat spreading. Match the top to the work you do, not to the shop tour videos.
- ✔ Plate top stays flat and doubles as a hammering and ground surface
- ✔ Square tube frame resists racking better than angle iron
- ✔ Overhanging top edges give clamp access on every side
- ✔ Hole grid turns the table into a repeatable fixture
- ✘ Thicker plate gets heavy fast and needs help to move
- ✘ Hole grids are slow to drill and collect spatter and debris
- ✘ Casters add convenience but reduce rigidity if underrated
- ✘ A bare steel top will surface rust in humid shops
Grounding, electrical, and the safety side you cannot skip
Ground the work clamp directly to the table, not to a painted leg and not to a rusty corner. Grind a bare patch, or better, weld a dedicated ground lug or a short piece of angle to one leg and clamp there every time. Poor ground connections cause arc instability, wandering arcs, and heat where you do not want it. A ground path that runs through caster bearings will eventually pit them.
Never paint the top. Paint burns, smokes, and contaminates welds, and some primers release nasty fumes when they hit arc temperature. If you want corrosion protection on a bare steel top, use a light wipe of oil or a dedicated anti-spatter, and understand that both add smoke. The frame and legs can be painted, just keep it off any surface that will see the arc or the ground clamp.
Fumes are the part people ignore because they cannot feel the damage happening. Welding on any galvanized, plated, or painted material releases metal fumes that can make you genuinely sick, and zinc fume fever is not folklore. Grind coatings off before you weld, run local extraction or at minimum a strong cross-draft that pulls fumes away from your face, and use a proper respirator for anything sustained. A box fan blowing across your work is not ventilation, it is a spatter distributor.
Build the fire safety into the bench itself. Keep the underside clear of storage, because a shelf under a welding table becomes a debris tray full of rag ends and sawdust. Put a rated extinguisher within arm’s reach of where you stand, not across the shop. Keep a fire watch mindset for at least half an hour after the last bead on anything near combustibles. Steel holds heat far longer than it looks like it does.
Eyes: the arc will burn your corneas at surprising distance, and it does not hurt until hours later. If anyone else works in the shop, plan for a screen or curtain around the table from the start. Full auto-darkening hood, safety glasses under it, long sleeves in natural fiber or leather, no synthetics that melt onto skin, and gloves matched to the process. Hearing protection for the grinder, which is the step that actually hurts most people.
Welding Table Clamps, Fixture Kits and Ground Clamps
A table is only as good as what holds work to it. Start with a few heavy F-clamps, a couple of quick-action toggle clamps, and a set of magnetic squares for tacking. If you drilled a hole grid, add pin-and-clamp fixture hardware sized to your hole diameter. Buy fewer, heavier clamps rather than a bag of light ones that flex when you snug them.
Process trade-offs: what you weld the table with
Any of the three common processes will build a solid table. They just ask different things of you. Stick welding handles mill scale, rust, and thick material with cheap equipment, and it does not care about a breeze in the shop. Cleanup is more grinding, and the arc is harsher on your eyes and skin.
MIG is the fastest way to get clean, consistent welds on 1/8 to 3/8 inch steel and the easiest to learn. Gas shielded MIG needs a still shop, so pick your ventilation approach carefully because the airflow that clears fumes can also blow away your shielding gas. Flux-cored wire tolerates wind and dirtier steel at the cost of more smoke and slag.
TIG makes beautiful welds and is the wrong tool for most of a table build. It is slow, and heavy plate needs preheat and patience. Use TIG for detail work, not for 40 feet of frame welds.
Watch duty cycle. Duty cycle is the percentage of a ten minute period a machine can weld at a given amperage before it needs to cool. A small machine rated 20 percent at its higher settings means roughly two minutes of arc time, then eight minutes of waiting. That is fine for tacking a frame, frustrating on long plate welds. For 1/4 inch and up, you generally want 150 amps or more available with a duty cycle you can live with. Contactor-rated 240 volt machines from lines like Miller, Lincoln, ESAB, and Everlast cover this range. If you are working from a 120 volt outlet, plan on more stitch welding and more cooling breaks rather than expecting continuous passes.
Frequently asked questions
How thick should a welding table top be? For general shop use, 1/4 inch plate is the practical minimum and 3/8 inch is the better answer if you can carry it. Go to 1/2 inch only if you fixture repeatable parts and want a near-permanent flat reference. Anything under 1/8 inch will distort and dent.
Can I build a welding table without an existing welder? Yes, with bolted construction. A bolted square tube frame with a plate top dropped on and bolted through works fine as a first bench, and you can weld it solid later once you have a machine. Use hardware sized to the load and check the bolts after the first few heavy jobs, because thermal cycling loosens things.
Should the top have holes or stay solid? Solid if you mostly weld sheet and small brackets, because you get better ground contact and nothing falls through. Holed or slotted if you build the same assemblies repeatedly and want clamps and stops anywhere. A hybrid, with a holed section on one end and solid area on the other, satisfies most one-person shops.
Build it once, build it heavy enough, and keep the top bare and flat. Everything you fabricate for the next ten years will sit on it.
Check prices on Amazon →